December Sickbed Crafting With Bostik
With Big Boy and Top Ender both being off school this week due to illness (BB will be going back to School tomorrow he's fine even if his blood sugars are all over the place!) it would have been easy to resort to letting them both just sit in bed, watch cartoons and play on their tablets. And to be fair, both the children did a fair bit of that because when you feel as lousy as they did/do it's just about as much as you can manage to not fall asleep mid sentence. However, I'm a mean and evil Mum. The sort that doesn't care if you're off School sick and still makes you practice your times tables, spellings and handwriting and so when they were feeling a little better (late afternoon) I got them doing some Mummy home school.
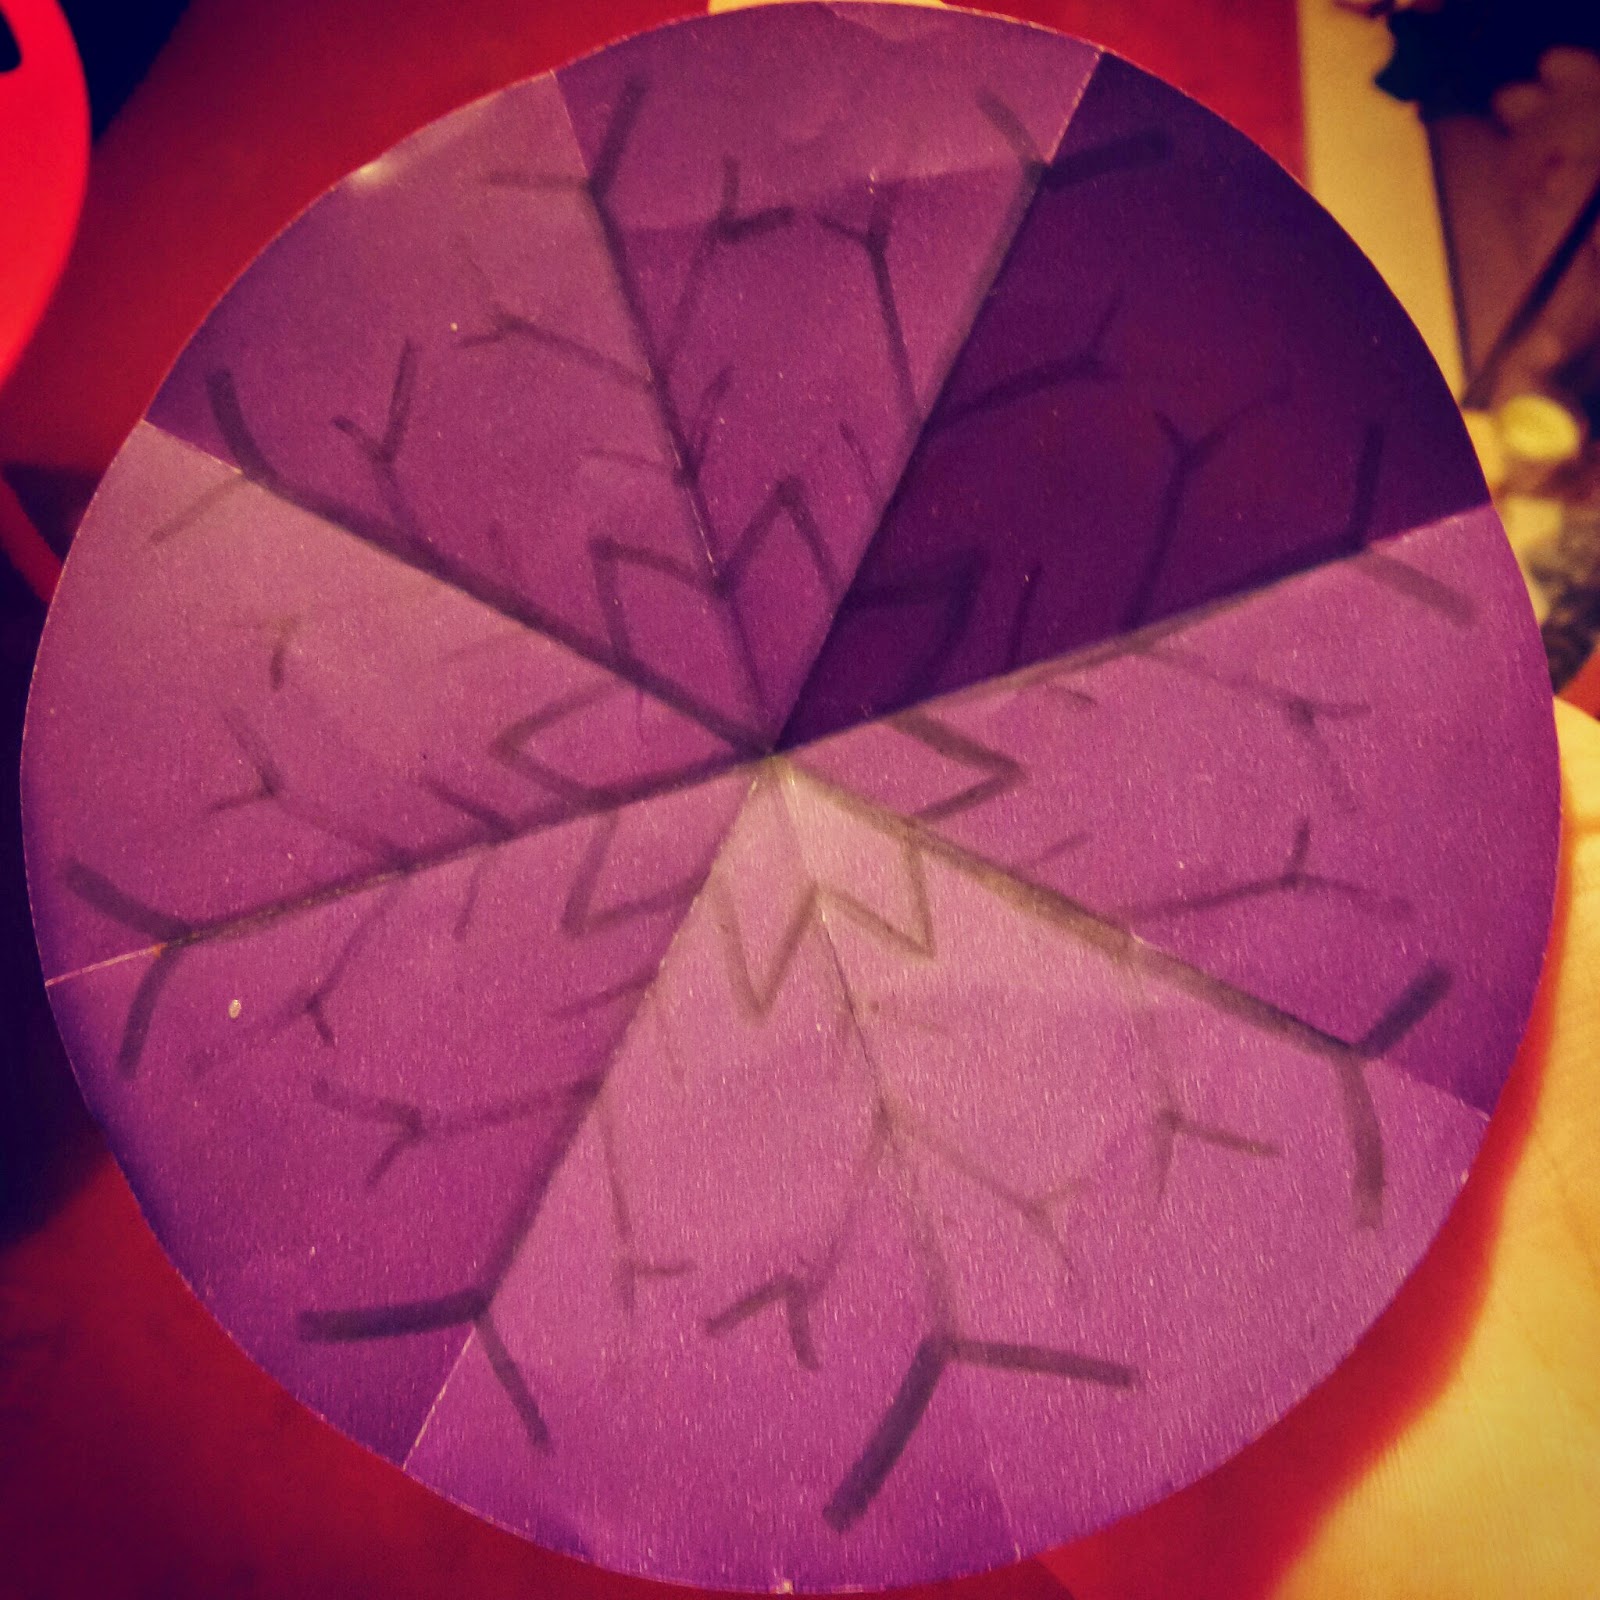
Big Boy had been learning about symmetry at School before he was ill, so I set him up with a bunch of paper circles and got him designing baubles and snowflakes.
We're going to attach all his snowflake designs to some invisible thread I have and hang them from the ceiling of his bedroom for a wintery design. He's rather pleased with the idea and his designs and I'm happy that he's still doing something educational.
For Top Ender though, I needed something a little more out of the box, or rather in the box as it turns out. At School Top's been learning about expressing herself through Art and so I gave her this months Bostik Craft Box and let her have at it.
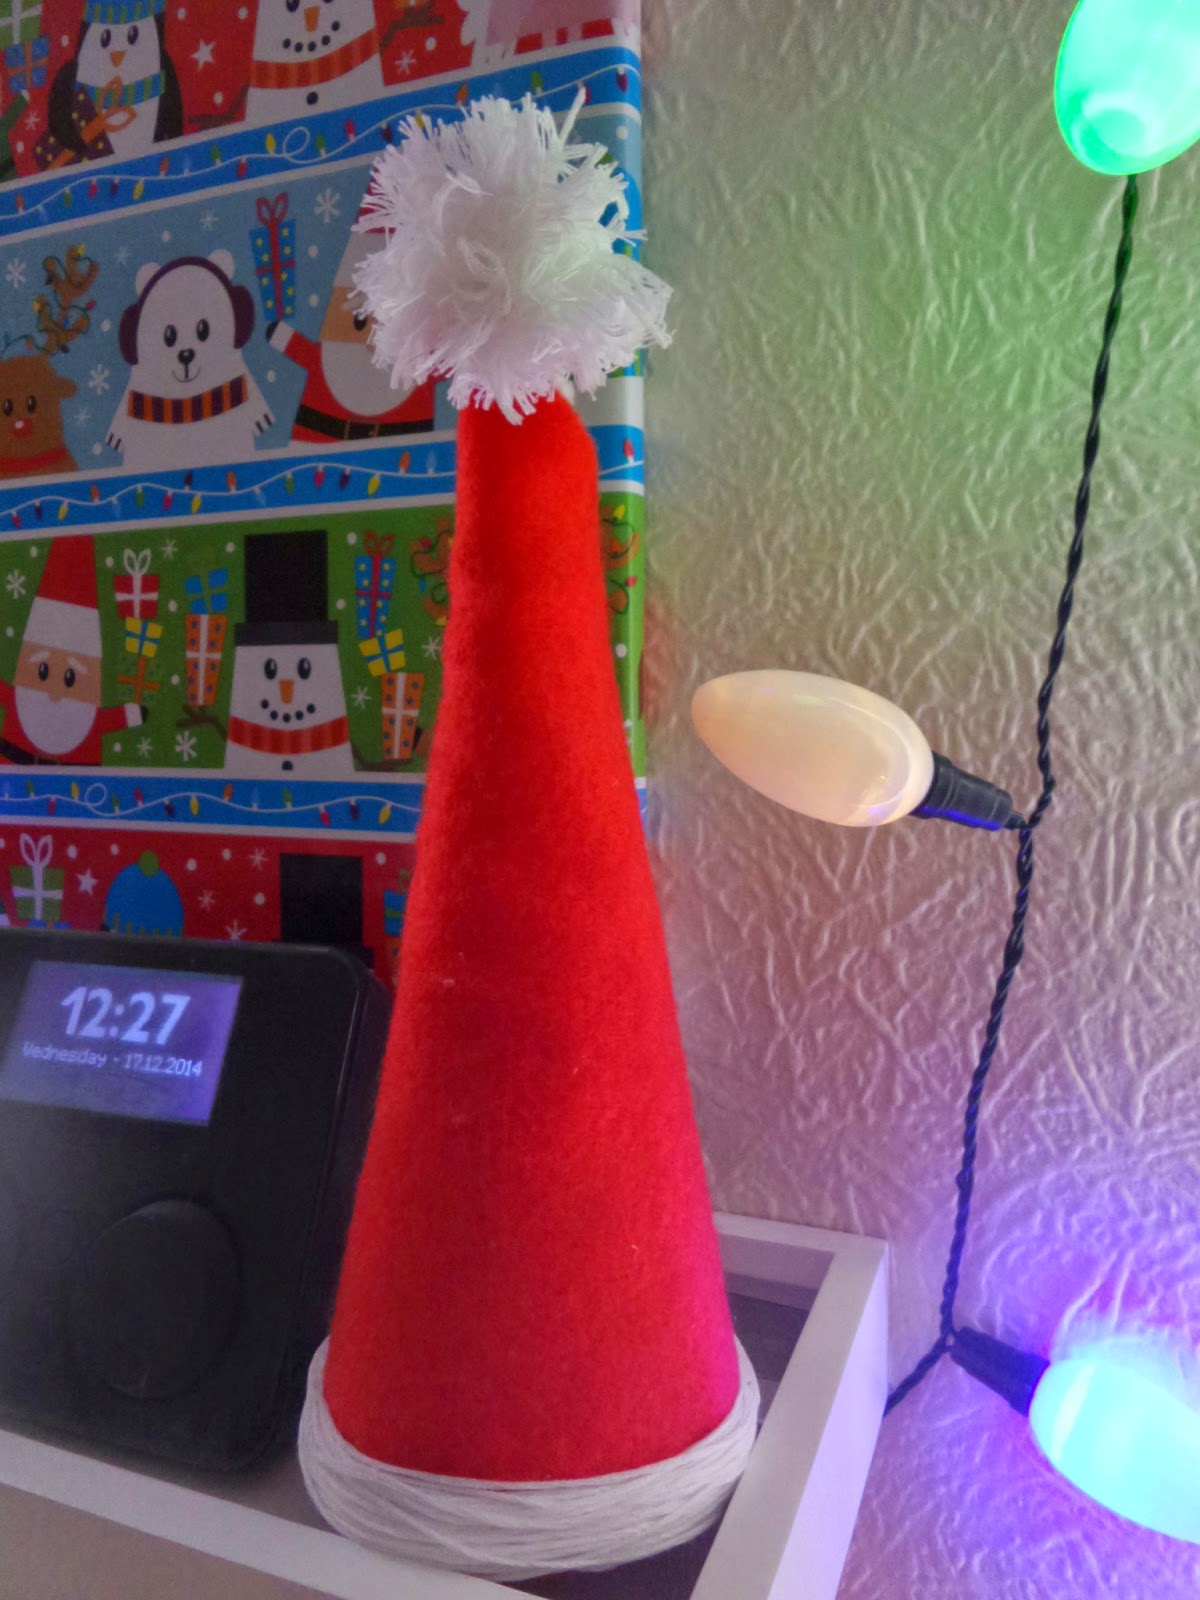
Out of all the things she created I can only show you this brilliant Santa Hat, as the rest are going to be given as Christmas gifts!
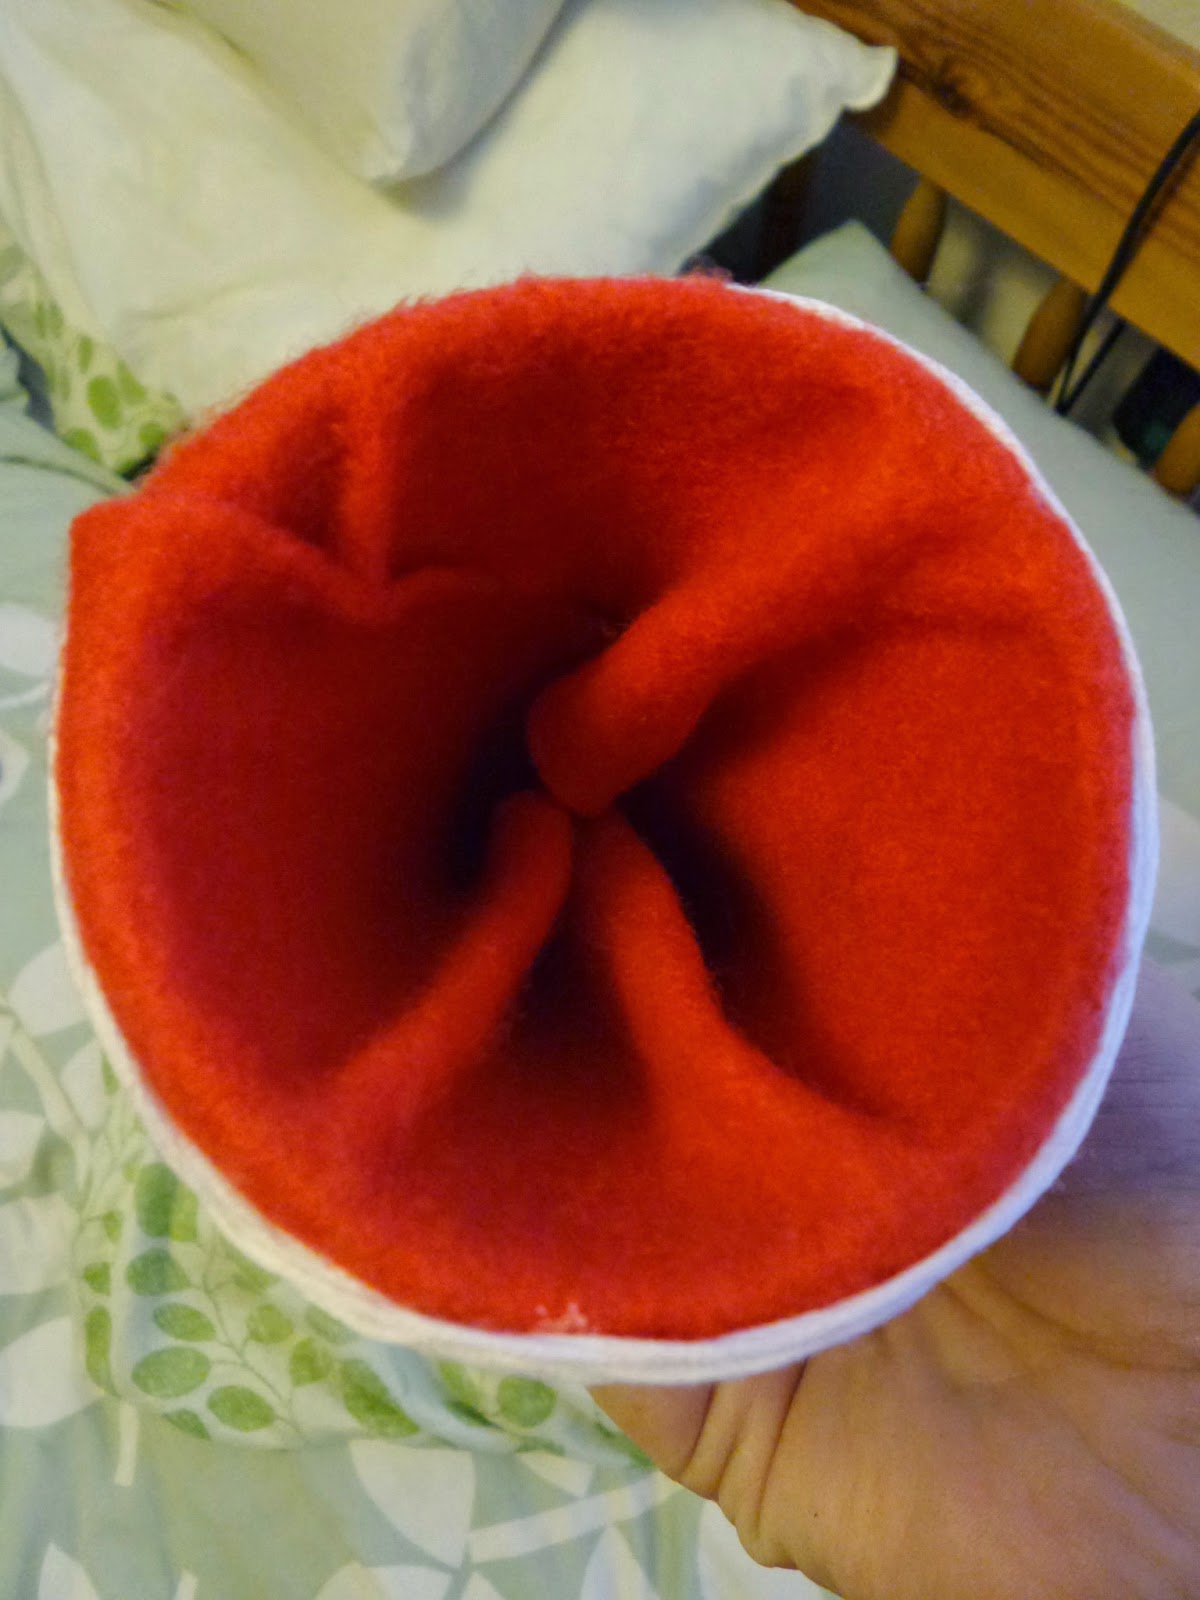
Top Ender used the glue dots that Bostik make (and we now LOVE because they are seriously good for everything) up one side of a cardboard cone. Then very carefully she lined a sheet of red felt up against the lower edge of the cone and wrapped it round to cover the cone. She tucked the excess felt inside the cone as I hadn't given her any scissors, but I think it helped keep it all neat.
She added more glue dots up one side of the felt to keep it all together and I think she did quite a good job.
The next step involved a bit of trial and error. Top Ender had originally wanted to glue balls of cotton wool to the bottom, but she decided it didn't give her the clean look she was looking for and so instead found a skein of white thread and after drawing a circle of glue around the bottom edge, wrapped the thread round and round and round and round and round. She thought that this looked a little more neat, but also gave the hat the traditional Santa look.
The next step was to create a pompom for the top of the hat.
She did this herself, by wrapping the thread around her fingers and tying the centre in a knot (you know how to make pompoms I'm sure) and by this point I found her some scissors to cut the threads to shape it in to a pompom. Tops found it easier to attach a white pipe cleaner to the pompom and curled it round the cone in the felt at the top of the hat so that it wouldn't stick up or out too far.
And then she presented it to me, for my made over Christmas bedroom!
All the crafts were sent to us as part of the Bostik Family Craft Bloggers Network.


